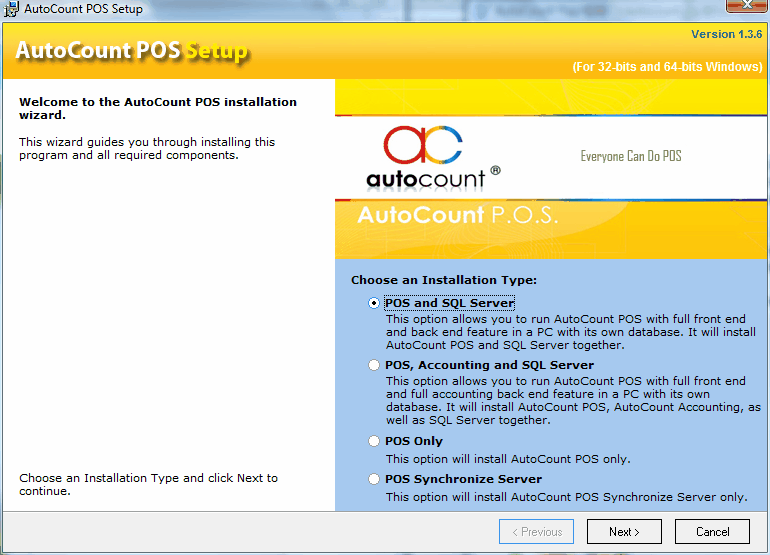
Select POS and SQL Server, click on Next.

Click on I accept the terms... , click on Next.
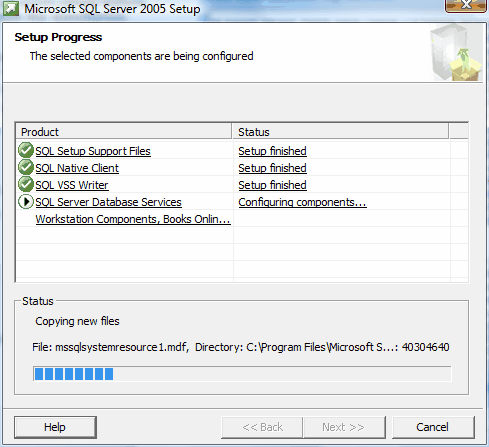
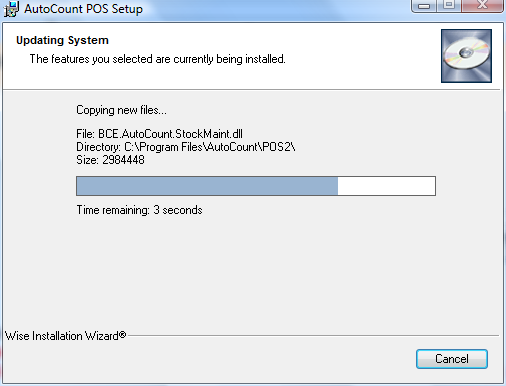
When SQL Server is installed successfully, the setup file will proceed to install AutoCount POS,
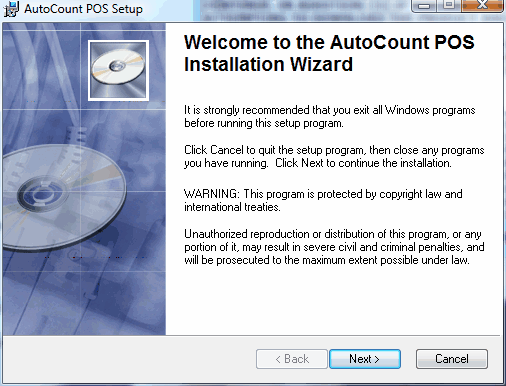
Click on Next.
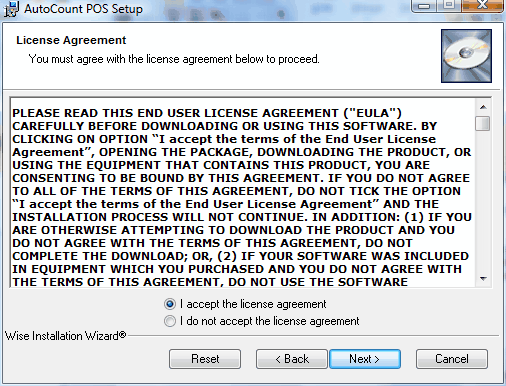
Click on I accept the..... , click on Next.
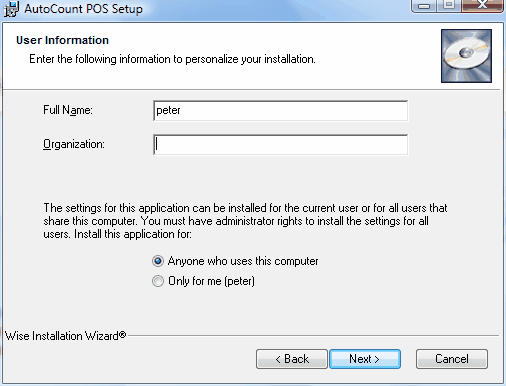
Click on Next.
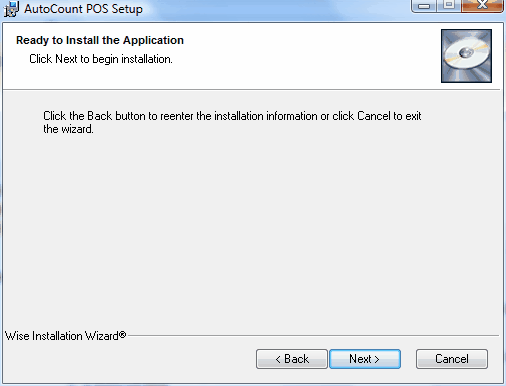
Click on Next.

Click on Finish.
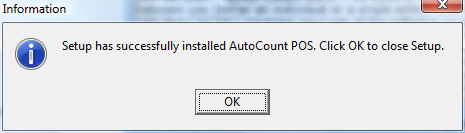
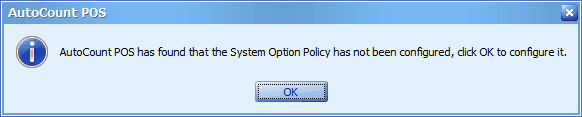
Click on OK.
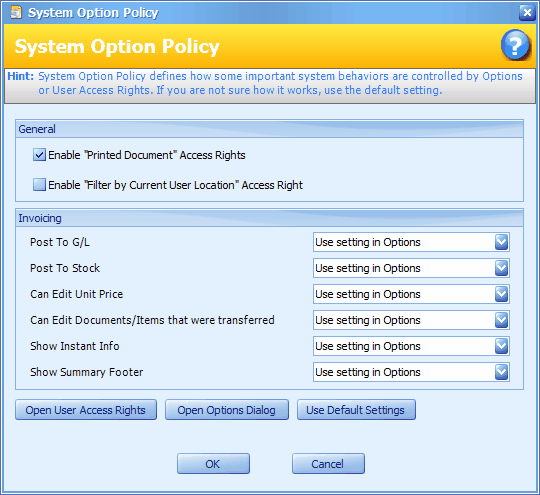
Click on OK.
Double click on the shortcut icon of AutoCount POS on your Desktop,

As this is a newly installed program, for the first time login, the system will prompt the First Time Start screen,
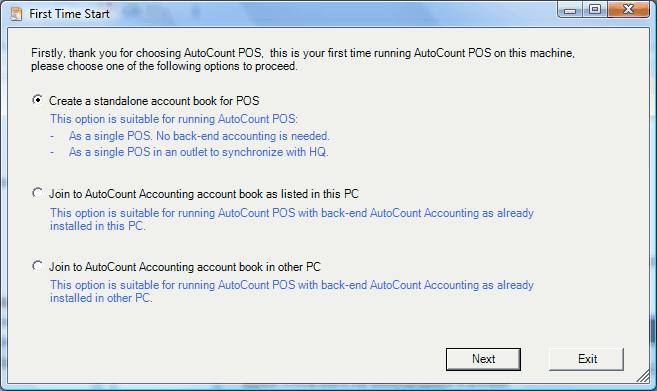
Create a standalone account book for POS: this is to create a standalone account book specially for POS when the user has not purchased AutoCount Accounting. The account book created will be for the use of POS only. Usually for PC installed with SQL Server.
Join to AutoCount Accounting account book as listed in this PC: this is to join to an existing account book (which was earlier created with AutoCount Accounting) on this PC.
Join to AutoCount Accounting account book in other PC: this is to join to an existing account book (which was earlier created with AutoCount Accounting) on other PC.
Select Create a standalone account book for POS, Next.
(assuming this is a PC that runs POS with its own database but not AutoCount Accounting, thus I may choose to create a standalone account book for POS.)
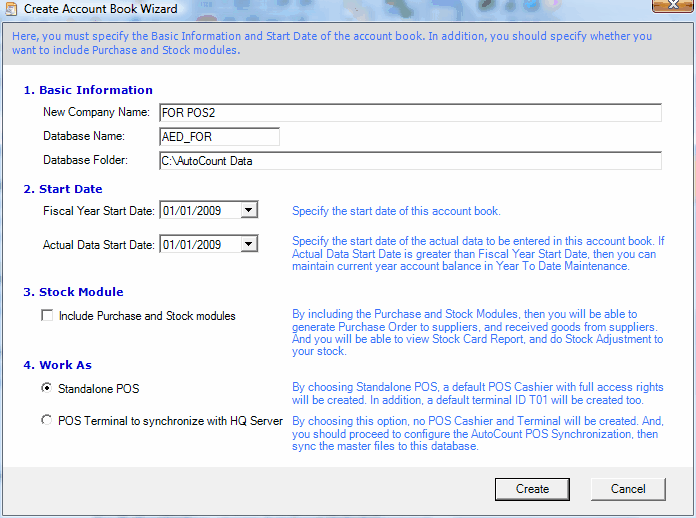
Key in Company Name, define the Start Date.
Include Purchase and Stock module: check this checkbox if you have purchases AutoCount POS Stock for front end.
Click on Create,
Click on OK,
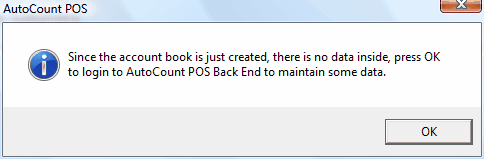
Click on OK,

Click on OK,
Double click on the shortcut icon of AutoCount POS on your Desktop,
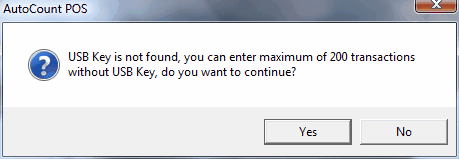
Click on Yes,
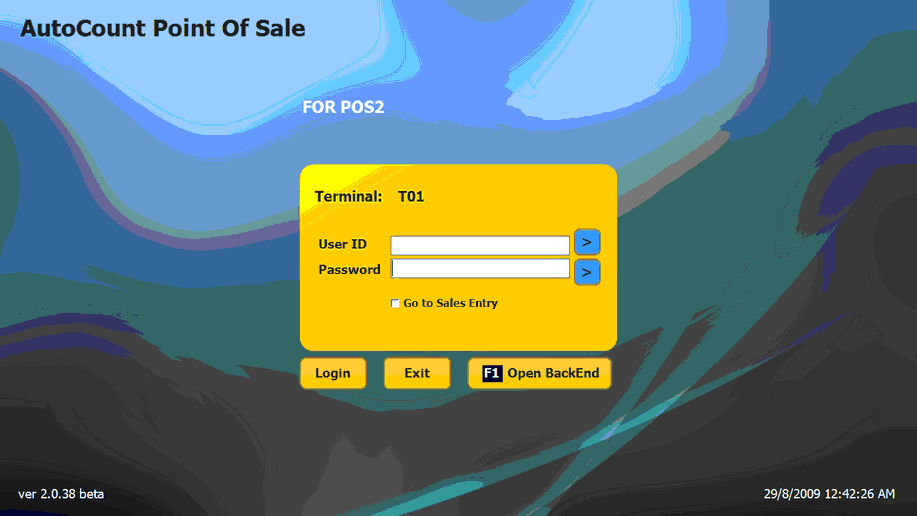
On the log in screen of AutoCount POS, click on Open BackEnd (or press F1 button on your keyboard)
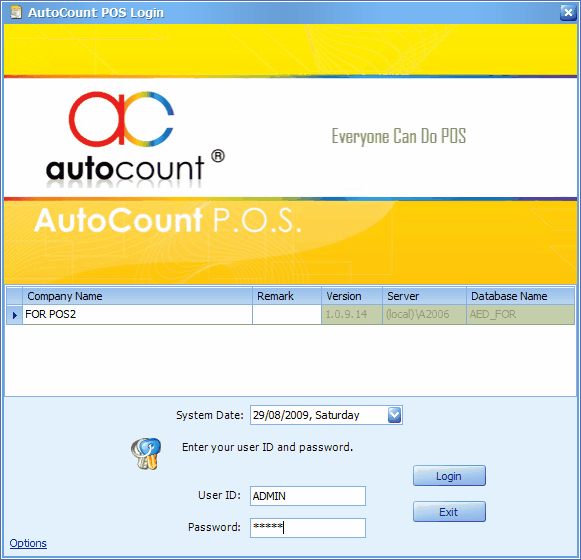
Key in password: admin

Click on OK,
Click on OK,
Click on OK,
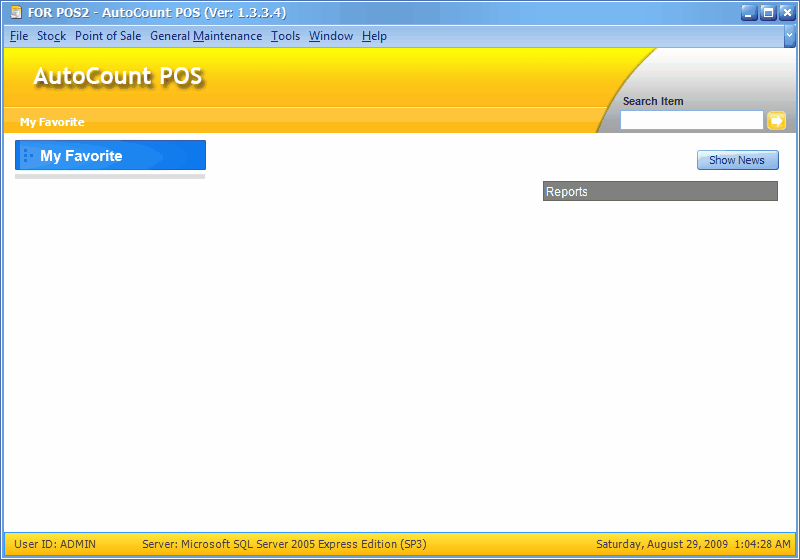
This is the main screen of AutoCount POS BackEnd.